
News
Nokia smartphones at MWC 2022: Retro streaming removable battery

Recently, the 2022 MWC World Congress is being held in Barcelona, Spain, with the theme of “Connectivity Unleashed Unleashing Infinite Possibilities”. It focuses on six themes of 5G connection, AI evolution, cloud network, financial technology, Internet of Everything and emerging technology. The old mobile phone manufacturer Nokia has also brought us many new products.
Nokia (HMD Global) has launched three new entry-level smartphones at MWC 2022. The three new phones, the Nokia C21, Nokia C21 Plus and Nokia C2 (2nd generation), are all designed to “respond to the success of entry-level devices”, after all, the low-end models helped Nokia achieve its goal during 2021 41% revenue growth and enabled HMD Global to complete its first full year of operating margins.
According to HMD Global, the Nokia C21, Nokia C21 Plus and Nokia C2 (2nd generation) have the ruggedness and long battery life that Nokia phones made famous years ago. This, combined with the best Android software and security updates, solidifies HMD Global’s vision for 2022 and beyond.
The Nokia C2 (2nd Gen) is powered by a 1.5GHz quad-core MediaTek chip, runs Android 11 Go, and supports a removable battery, but it’s only 2400mAh. The Nokia C2 (2nd generation) has 1GB of RAM and 32GB of flash memory. The top version has 2GB of RAM and 32GB of flash memory. It also supports up to 256GB of memory card expansion. It uses a 5.7-inch FWVGA screen with 960×480 pixels. The front camera of the machine is 2MP, the rear main camera is 5MP, there is no NFC, but it supports Wi-Fi4 and Bluetooth 5, supports G LTE Cat.4, 3.5mm standard headphone jack, and the size and weight are 154×75.9×9.55mm and 180 grams. The Nokia C2 Gen 2 will be available in Warm Grey and Dark Blue, starting at €79, or €109 for the 2/32GB version.
The Nokia C21 runs Android 11 (Go version) system, is equipped with a 6.517-inch HD+ screen, is equipped with an octa-core UNISOC SC9863A SoC and 2GB and 3GB RAM, is equipped with an 8MP rear camera, a fixed focus lens, and a front 5MP selfie lens. In addition, Nokia C21 is also equipped with 32GB onboard storage, supports 4G LTE, Wi-Fi802.11b/g/n, Bluetooth v4.2, GPS/A-GPS, Micro-USB (OTG) and 3.5mm headphone jack, rear Fingerprint recognition solution, 3000mAh battery, dual SIM dual standby. The Nokia C21 will be available in dark blue and warm grey, starting from 99 euros and 129 euros for the 2/32 version.
The Nokia C21 Plus is almost identical to the C21 except that it offers 2GB, 3GB and 4GB of RAM and 32, 64GB of storage, a 13MP main camera and a 2MP camera on the rear, a 5MP camera on the front, and a 4000mAh battery that supports IP52 water resistance. The Nokia C21 Plus will be available in Teal, starting from €119, or €149 for the 3/32GB version.
The above three are all entry-level smartphones. It would be cool to have a removable battery and a universal charger in this era, right? Do you like this retro feel? Welcome to the comment area to leave a comment and express your opinion.
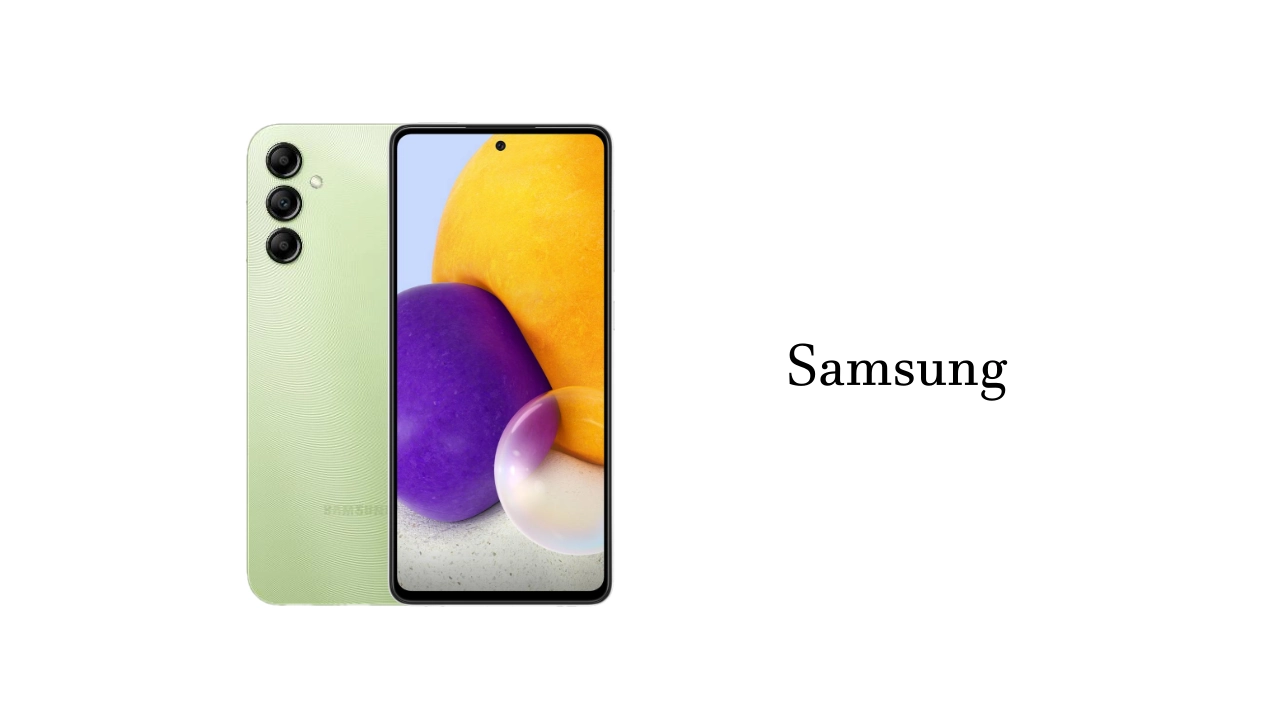
Taking screenshots on our smartphones is becoming increasingly common and has become an invaluable part of our technology lives. But do you know how to take a screenshot on your Samsung Galaxy A54?
Whether you’re trying to capture a text conversation with a friend or just need to grab something quickly from the internet, we’ve got you covered with this step-by-step guide. Keep reading to find out how easy it is to take screenshots on your Samsung Galaxy A54!
How to take a screenshot using the physical buttons
- To take a screenshot using the physical buttons, simply press and hold the power button and the volume down button at the same time.
- The screen will flash, indicating that a screenshot has been taken.
- You can find the screenshot in your gallery app.
How to take a screenshot using Palm Swipe
Palm Swipe is a feature that allows you to take a screenshot on your Galaxy S23 Ultra by swiping the edge of your hand across the screen. To use Palm Swipe, follow these steps:
- Enable Palm Swipe: Go to Settings > Advanced features > Motions and gestures. Enable Palm swipe to capture.
- Take a screenshot: Place your hand vertically on either side of the screen, then swipe across the screen from one side to the other as if you were taking a photo.
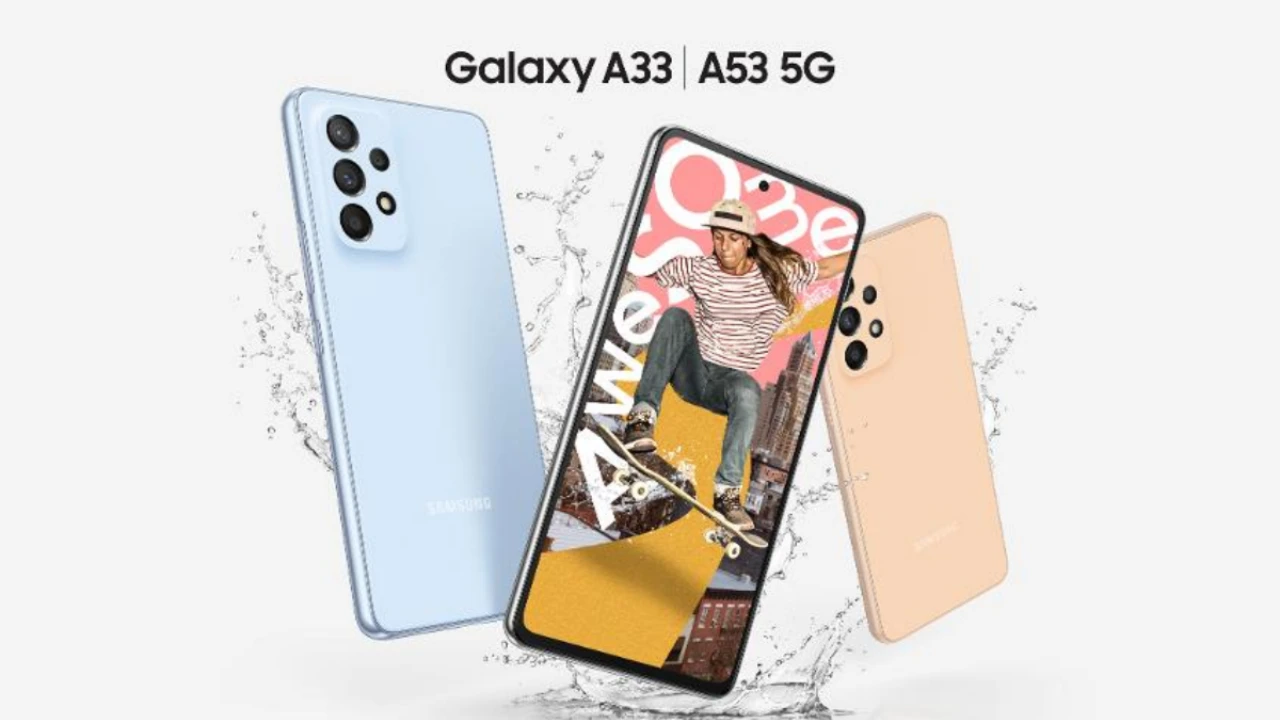
Are you looking to learn how to ethernet tethering your Samsung Galaxy A53? With the ability to ethernet tethering, you can share your mobile data connection with other devices, allowing them to access the internet without a Wi-Fi network. Ethernet tethering has traditionally been done using Wi-Fi connections, but with the latest technology, you can now set up tethering using Ethernet connections.
In this guide, we’ll walk you through the steps of setting up Ethernet tethering on your Samsung Galaxy A53 smartphone. We will also discuss some of the benefits and drawbacks of using this method compared to other ways of tethering.
Enable Ethernet tethering on Galaxy A53 smartphone
- First, go to “Settings“
- Then, click on “Connections“
- Now, you will see “Mobile Hotspot and Tethering” Option, click on it.
- Then, enable “Ethernet tethering“.
We hope that this article has been able to provide you with some helpful tips and tricks for How to enable Ethernet tethering on Samsung Galaxy A53 smartphone. Now you can share your experiences or capture important information without any hassle!
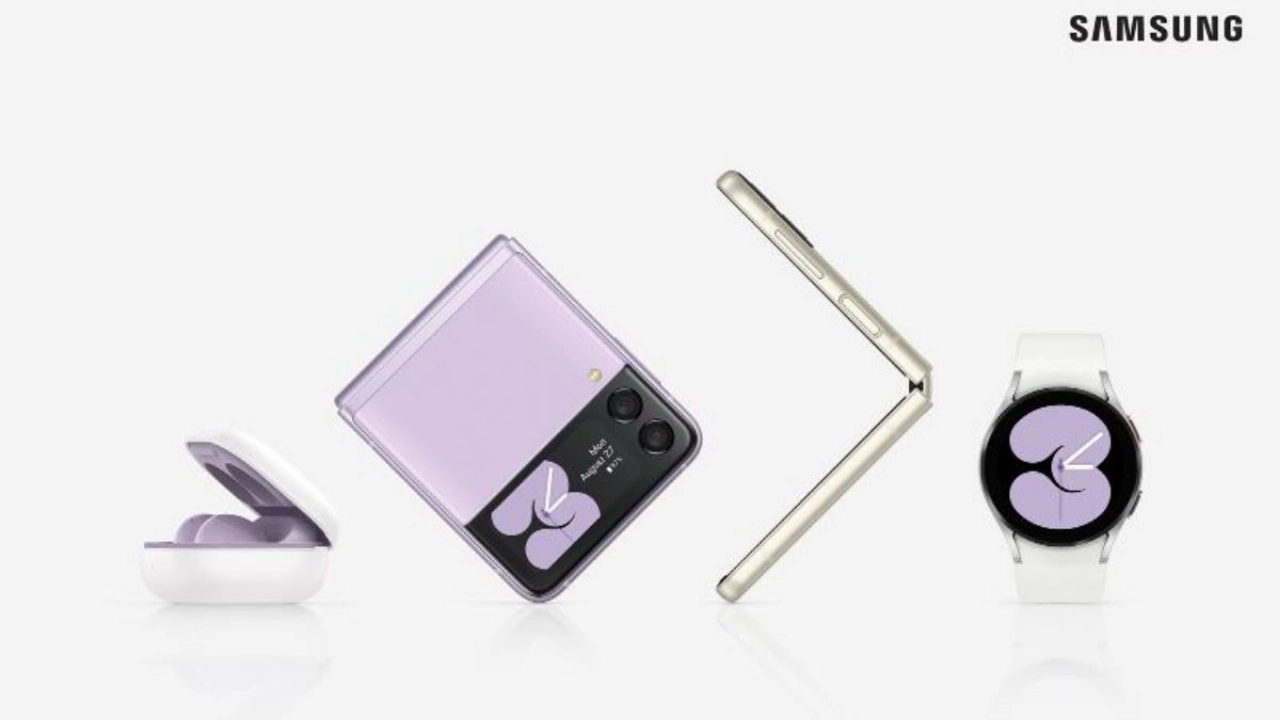
Tech enthusiasts across the world have been going wild since Samsung announced the launch of the much-anticipated Samsung Galaxy Z Flip 3. From its impressive design to its cutting-edge features, this latest smartphone model is a must-have device for tech savvy users.
Unfortunately, however, some users have reported facing issues in connecting to Wifi networks with their smartphone. If you’re having trouble getting connected with your Galaxy Z Flip 3, don’t worry – we’ve got you covered! In this blog post, we’ll be taking a look at how to fix user-facing WiFi connecting issues on your Samsung Galaxy Z Flip 3. Let’s get started!
How to fix Galaxy Z Flip 3 WIFI not working issue
Restart your device
If your Samsung Galaxy device is not connecting to WiFi, the first thing you should try is restarting your device. To do this, simply power off your phone and then turn it back on. This should fix the problem if it was caused by a temporary glitch.
Toggle the Airplane Mode
If your Samsung Galaxy device is having trouble connecting to WiFi, one of the first things you should try is toggling the Airplane Mode. This setting turns off all wireless connections on your phone, which can sometimes be the cause of the problem. To toggle Airplane Mode, simply pull down the notification shade and tap on the Airplane Mode icon.
Restart Wifi Connections
If your Samsung Galaxy device is having trouble connecting to WiFi, you can try restarting your WiFi connections. To do this, go to Settings > Network & Internet > WiFi and toggle the WiFi off and on. You can also try forgetting the WiFi network and then reconnecting to it. If you’re still having trouble, you can try resetting your device’s network settings. To do this, go to Settings > General Management > Reset > Reset Network Settings.
Connect a different device
If your Samsung Galaxy device is having difficulty connecting to your WiFi network, there are a few things you can try. First, try connecting a different device to the WiFi network. If that device is able to connect without any problems, then the issue is most likely with your phone and not the WiFi network.
Check update
If your phone is having trouble connecting to WiFi, the first thing you should do is check for any available updates. To do this, go to Settings > About device > Software update and see if there are any updates available. If there are, install them and see if that fixes the problem.
Restore Factory
If your Samsung Galaxy device is having trouble connecting to Wi-Fi, you can try restoring the factory settings. This will reset all of your network settings, including your Wi-Fi passwords, so make sure to write them down before you begin. To restore your Galaxy S Ultra to its factory settings:
- Open the Settings app and tap “General management.”
- Tap “Reset.”
- Tap “Factory data reset.”
- Tap “Reset device.”
- Enter your PIN or password if prompted.
- Tap “Continue.”
- Tap “Delete all.”
Could It Be A Hardware Issue?
If your phone is having trouble connecting to WiFi, it could be a hardware issue. So you should visit Samsung customer care centre for repair your device.